My budget this Christmas was a little tighter than most, so I decided to make a few presents for my loved ones myself. The whole “do-it-yourself” thing is still a bit new to me, but the amazing media outlet called “Pinterest” makes it almost impossible not to try something! Especially during the holidays, there is a plethora of self-made gift ideas. I decided to combine a couple projects I’d pinned: 1) a DIY dry-erase board made out of picture frames with 2) a personalized fabric backing using a printer and freezer paper. It all sounds very “MacGyver,” but I promise it was pretty simple.
I chose frames that had both a stand and hanging hook, with hope that my giftees could easily find a place for them. They are perfect for quick memos, store lists, etc. Perhaps not everyone loves to make lists as much as I do, but I figured the customized initials and names would make them a bit more personal.
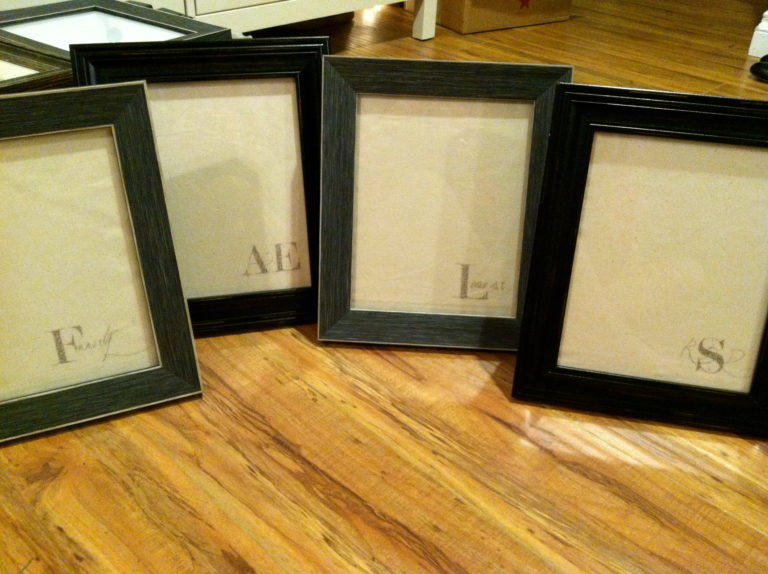
Here is the finished result:


Visit my “homebody.” Pinterest board to find instructions for the iron-on fabric backing. (Click on the icon on the side menu!)
I bought a few yards of a lighter canvas fabric for the backing, which translated to a casual, rustic look for the frames. I played around with the text designs using a free app on my Mac called “Graphic Design Studio.” The most challenging part was getting the letting to print on the freezer paper without smudging and not getting the freezer paper stuck in my printer! But persistence eventually prevailed.
*NOTE: Freezer paper is NOT the same as wax paper. Make sure you purchase freezer paper, which can be found in any major grocery or supermarket, in the same aisle as aluminum foil and plastic wrap.
When you’re already getting crafty, it’s hard not to get carried away. I also created the below gift tags for our presents this year. Amazing what a little cardstock, twine, and a hole punch can do.

